My 2019 Bullet Journal Set-Up + Supplies
Hey there!
I made a video at the start of the month sharing my new bullet journal set up, and I wanted to make a complimentary blog post to share the details I went over, because when you’re trying to design your own bullet journal some people do better with a blog post over a video.
Let’s start with the supplies I use:
Rhodia dot journal: This is my third year using this journal. The quality is great and that’s why I keep going back, but I wish they had more color selection.
Clear ruler: I use a 15 cm clear ruler to draw all my lines. I don’t know how people make straight lines without rulers, and let’s just say I’m particular about creating straight lines.
Mechanical pencil — I just use this for outlining before committing with a pen, marking out spacing, etc. You could use any sort of pencil, but I just have a mechanical one.
Zebra Mildliner Highlighters: I was informed that these are actually MILDliners not MIDliners, whoops. These are new for me this year and I’m excited to incorporate them into my BUJO. I wanted a way to separate between different types of entries on yearly and monthly calendars. I have a different color for travel, races, calls or interviews, appointments, events, birthdays + FemmeHead.
Now my favorite part, fine liners. They are life! The thinner the better. I use these day to day for everything else in my BUJO — the headers, spreads, you name it.
Kuretake Mangaka 01 : I like this one a lot and use it for day to day writing.
Pilot Razor Point: This one is just slightly thicker so I’ve been using it to write in my gratitude journal.
Pigma Micron 0.3 and Pigma Micron 0.2: I love these pens and use them day to day
Marvey Le Pen: This one is actually thicker then most of the others so after I used it for setting up my bullet journal I decided to not use it in there anymore.
Ok, now onto the set up, layout and spreads.
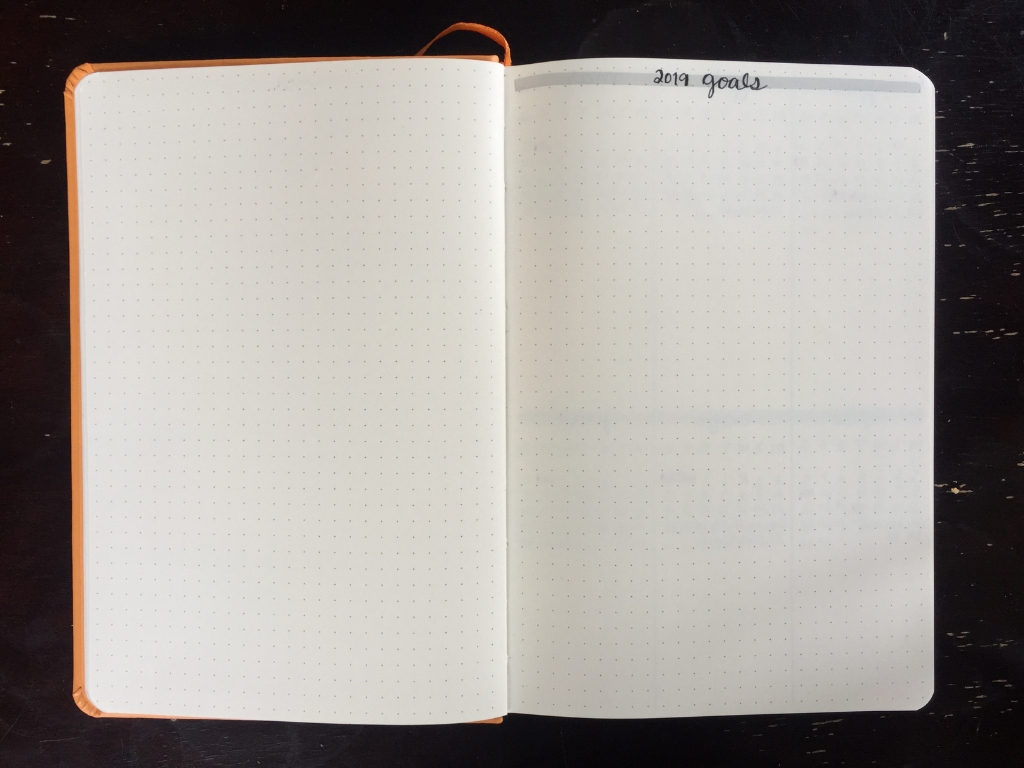
Starting with the fresh year I create a page for my 2019 goals, which is still currently blank besides the header because I haven’t gone through the brainstorming process of choosing my goals. And don’t worry I’ll be sharing that in an upcoming video.
The next spread is my yearly overview. Last year was my first year of doing this, and it was a much needed addition. I love having a space where I can see everything that I have coming up, as well as a place to put an event or travel when it’s planned so it’s not forgotten.
My yearly overview is a two page spread with six months on each page. I have a small calendar of each month at the top of each section followed by a blank space under each to write out important dates and happenings that month.
This year’s overview is still pretty blank because I don’t put things in here until they’re finalized, such as travel. So far you can see where I’ve highlighted people’s birthdays, and a few races I know the dates for.

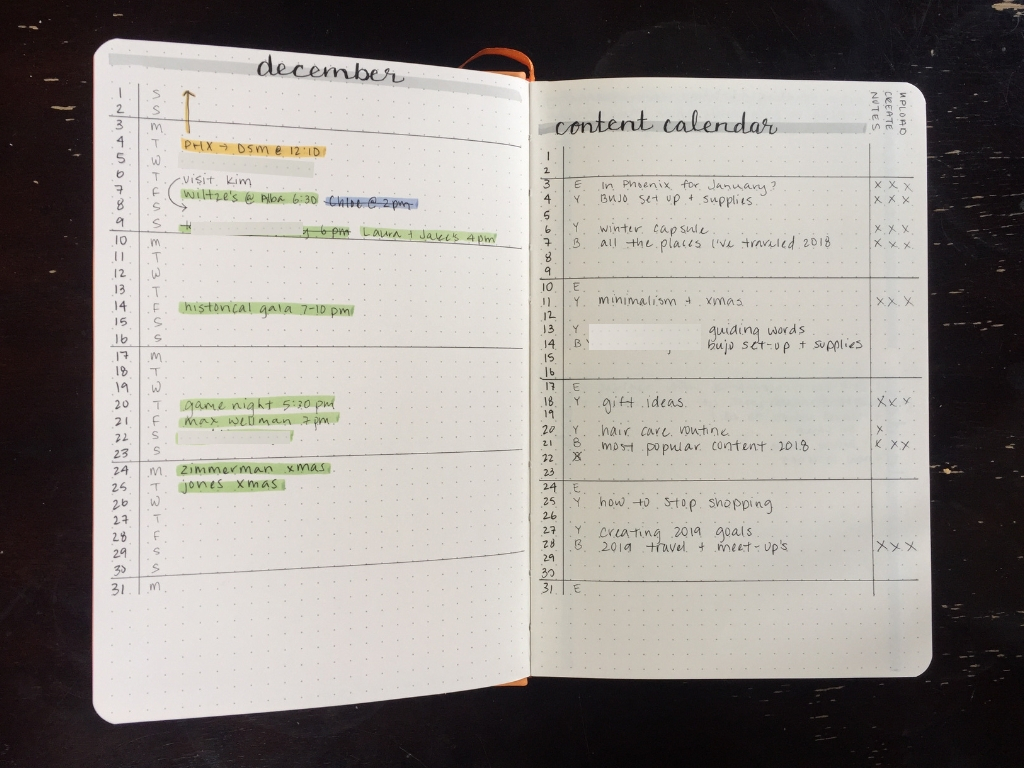
Next is my monthly overview. This is a single page calendar that is a minimal design of the date and day of the week down the left side of the page. I separate the weeks with a line between Sunday and Monday.
On the following page is my content calendar, which has a similar layout to my monthly overview but then I add a few check off boxes on the right side for “Notes” “Create” and “Upload” so I can keep track with where I am with each piece of content I’m creating. I often bulk create content so it’s helpful to know where I’m at.
From there is my brain dump which is a two page spread broken up into four sections labeled, “Content”, “To-Do’s”, “Research” and “Ideas” because these are the most common/general categories for what my brain dump consists of anyways.

And the final spread is my weekly overview. It is two pages with the top half of the first blank for my to-do’s followed for a space for Monday and then Tuesday with the week on the top of that page. The following page is Wednesday through Sunday, with the weekend sharing one section since I usually have less those days.

So instead of going spread to spread completing each before moving on to the next I usually go through and do each step for each spread before moving onto the next step. And for me those are:
— outline, mark spacing in pencil
— write everything with a fine liner
— go back and thicken downstrokes with heavier pen
— go back with fine liner and cross t’s and dot i’s
— go back and erase all the pencil
— draw all the necessary lines with ruler
— highlight headers using ruler to get straight line
— fill in calendar
— highlight events, etc. with different colors
And the great thing about using a bullet journal system is that you can customize it, tweak it and change it completely as you create it. So, if I get bored or don’t like a design I can do it differently next time.
[Things are hidden in my photos of my BUJO for privacy, duh. Promise it’s not that exciting. And affiliate links are used in this article, which don’t cost you anything, just give me a teeny little kickback if you use that link and buy the item. So, help a sister out.]